How to Open a DVD Case: 9 Steps

Step 1: Place the DVD case on a flat surface
First, place the DVD case on a flat and clean surface with the front cover facing upwards. This will ensure that the case is stable while you attempt to open it.
Step 2: Locate the edge with the opening tab
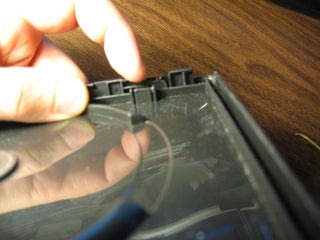
Inspect the DVD case and find the edge with the small opening tab. This is typically located on the right side of the case.
Step 3: Use your thumb to grip the tab
Place your thumb on the tab and apply gentle pressure. Make sure you have a firm grip before proceeding.
Step 4: Use your other hand for support
With your other hand, hold onto the opposite side of the case for better control and stability while opening it.
Step 5: Push down on the opening tab
Gently push down with your thumb on the opening tab, taking care not to apply too much force. This will release the locking mechanism and slightly lift the cover.
Step 6: Lift the cover from one side
Using your fingers, lift up the now-open side while still keeping pressure on the opening tab. Carefully avoid touching any part of the DVD inside.
Step 7: Open the case fully
Spread both sides apart and continue opening until both sides lay flat.
Step 8: Extracting or inserting a DVD
To extract a DVD, press down on its central hub using your thumb while using your other fingers to gently lift its outer edges. To insert a DVD back into its case, align it within its designated holder, ensuring that its label is facing up, then gently press it down until it clicks into place around its central hub.
Step 9: Close and secure the DVD case
To close it, fold both sides of the case back together. Apply gentle pressure around all sides to ensure that they’re properly aligned, and press down firmly on both edges to lock the case securely.
By following these 9 simple steps, you will be able to open and close DVD cases with ease, preserving their contents and ensuring that your collection remains in pristine condition.


