How to Make Soft Plastic Lures: 14 Steps
Soft plastic lures are popular among anglers for their versatility and lifelike resemblance to baitfish, offering an effective alternative to live bait. Creating your own customized soft plastic lures allows you to tailor their features, colors, and patterns specifically for your preferred fishing conditions. In this 14-step guide, we will outline the process of making soft plastic lures from the comfort of your home.
1. Gather materials: To make soft plastic lures, you’ll need a mold, plastisol liquid (soft plastic), colorants, glitters, stirring sticks, a microwave-safe container, a microwave, injector or syringe, gloves, safety goggles, and a workspace with proper ventilation.
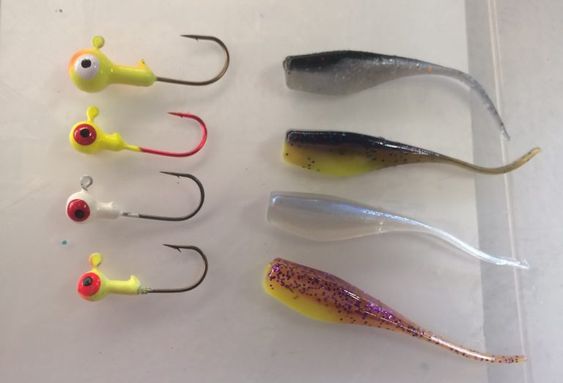
2. Choose your mold: Soft plastic lure molds come in various shapes and sizes. Select the appropriate mold that corresponds with the desired lure design.
3. Prepare your workstation: Before starting, clean and set up your workstation to avoid cross-contamination and ensure efficient workflow.
4. Heat plastisol: Pour plastisol into a microwave-safe container and heat it in the microwave until it reaches a clear, liquid consistency.
5. Add colorants: Add colorant to the heated plastisol and stir well. A few drops should suffice; however, consider using more if you want a deeper hue.
6. Mix in glitter: If desired, add glitter into the colored plastisol mixture for added visual appeal.
7. Reheat plastisol if necessary: If the plastisol starts to cool down or thicken while prepping other materials, reheat it in the microwave until it reaches its liquid state again.
8. Carefully pour or inject mixture: Wearing gloves for protection, use an injector or syringe to fill each cavity of the mold with the colored plastisol mixture evenly.
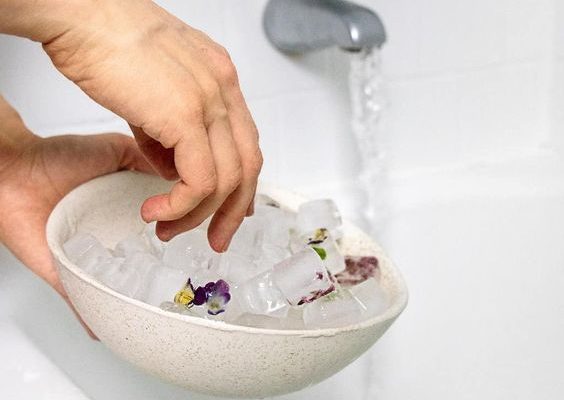
9. Cool mold: Allow filled mold to cool at room temperature or under cold running water. Cooling can take between five and 20 minutes, depending on the size and thickness of the lure.
10. Remove from mold: Once the lures are cooled and solidified, gently remove each one from the mold cavity by flexing the mold and pulling it free.
11. Inspect for quality: Examine each lure for any defects like air bubbles, deformities, or discoloration. If there are imperfections, remelt the plastisol and repeat the process.
12. Trim excess material: Use small, sharp scissors or a hobby knife to carefully trim any excess plastic from around the edges of your lures.
13. Cure soft plastic lures: Leave your lures to cure for at least 30 minutes to allow them to fully harden. This helps prevent deformation, enhances durability and ensures optimal performance.
14. Store lures properly: After curing, store your DIY soft plastic lures in airtight containers, separated by type and color to prevent different scents and colors from mixing together. Keep them in a cool, dry place away from direct sunlight.
By following this detailed 14-step process, you can create homemade soft plastic lures customized to your preferences and fishing conditions. With practice and experimentation, you will become an expert at creating effective lures that ensure a successful day on the water.