How to Make Sandwich Wraps: 13 Steps

A well-crafted sandwich wrap makes for a delicious, portable, and satisfying meal. Follow these 13 steps to create amazing wraps for your next lunch, picnic, or party.
1. Choose your wrap: Start by selecting the type of wrap or tortilla you prefer. Options include plain or flavored tortillas (spinach, sun-dried tomato), whole wheat, gluten-free, or even lettuce leaves.
2. Prepare your ingredients: Gather all the ingredients you want to include in your wrap. You’ll likely need a protein source (meat, chicken, turkey, tofu), some veggies (lettuce, spinach, tomatoes, bell pepper), cheeses (cheddar, Swiss, etc.), and sauces/dressings.
3. Plan ahead: Create a mental map of your wrap and decide on an appealing color and texture combination for the fillings.
4. Start with the base layer: Spread a thin layer of condiment on the wrap first—this can be anything from mayonnaise or mustard to hummus or pesto.
5. Layer protein: Add slices of protein evenly onto the wrap. Make sure to distribute them evenly so you get a good mouthful of protein in every bite.
6. Layer cheese: Lay cheese slices on top of the proteins. This not only adds flavor but also helps hold everything together as it melts.
7. Add veggies: Arrange veggies evenly next; you can use raw vegetables like lettuce and tomatoes or cooked options like grilled onions and mushrooms.
8. Seasoning: Season your wrap with some salt and pepper or any other herbs and spices that complement your chosen ingredients.
9. Roll it up: Hold both edges of the wrap closest to you and start rolling away from yourself while ensuring that all the fillings stay inside securely.
10. Tuck in ends: As you roll the wrap up, tuck in both sides so the ends are secure and the fillings do not spill out.
11. Apply pressure: Apply light pressure with your hands to firm up the wrap and help it hold its shape.
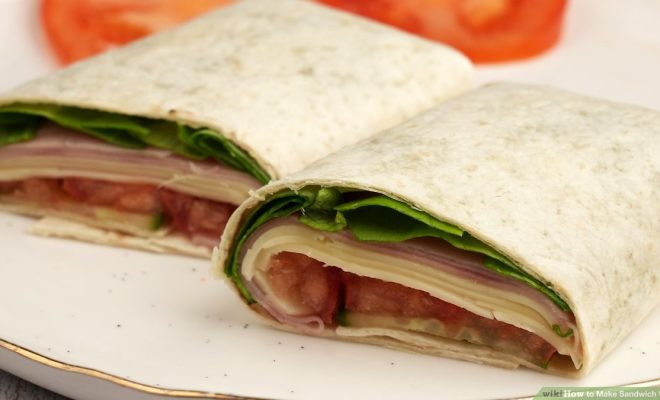
12. Cut and serve: Use a sharp knife to cut the sandwich wrap in half diagonally, revealing the layers of ingredients. Now it’s ready to be served on a plate, wrapped in parchment paper, or stored in an airtight container for later consumption.
13. Get creative: Once you’ve mastered making a basic sandwich wrap, experiment with different ingredient combinations and flavors to create unique and delicious wraps.
With these 13 steps as your guide, there’s no limit to the variety of sandwich wraps you can make. Enjoy preparing and sharing this versatile meal option with friends and family!


