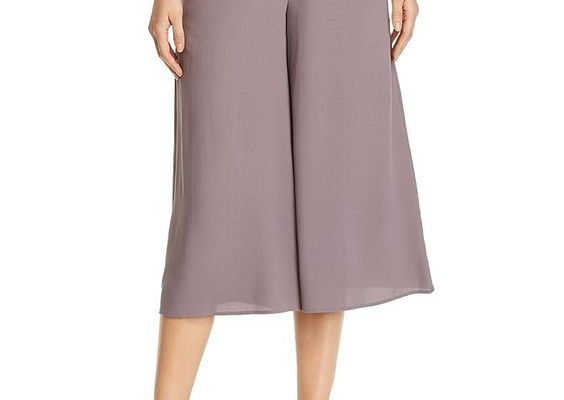
How to Make Palazzo Pants

Introduction:
Palazzo pants are a fashionable and comfortable addition to any wardrobe. Their loose, flowy design not only looks stylish but also provides excellent comfort, making them perfect for warm weather or cozy days indoors. In this article, we will outline a step-by-step guide on how to make your own pair of palazzo pants and give your wardrobe a fun and unique twist.
Materials Needed:
- Fabric: Choose a lightweight, non-stretchy fabric like cotton, rayon, or silk.
- Elastic waistband: Measuring about 1-2 inches wide.
- Scissors
- Ruler or measuring tape
- Sewing machine or needle and thread
- Fabric chalk or marker
- Pins
Step 1: Measure
Start by taking your measurements:
– Waist circumference: Measure around the smallest part of your waist.
– Hip circumference: Measure around the widest part of your hips.
– Desired pant length: From your waist down to where you want the pants to end (typically between mid-calf and ankle).
Step 2: Cut the fabric
Cut two rectangles of fabric with the following dimensions:
Width = (Hip measurement + 4 inches)/2 ;
Length = Desired pant length + 4 inches
Step 3: Mark the crotch area
Fold each rectangle in half width-wise with the right sides facing each other. On one side of the folded rectangle, draw a curved line about 3-4 inches from the top corner (the crotch area). Cut along this curved line through both layers of fabric.
Step 4: Sew the crotch seams
Open up both pieces of fabric and place them right sides together, aligning the curved seams you just cut out. Pin along each curved seam, then sew them using a straight stitch with a ½ inch seam allowance. Leave a small gap to attach the elastic waistband later.
Step 5: Sew the inner leg seams
With the two pieces still right sides together, pin and sew along both inner leg edges, using a straight stitch with a ½ inch seam allowance.
Step 6: Sew the outer leg and hem
Pin and sew along both outer leg edges, again using a straight stitch with a ½ inch seam allowance. For hemming, fold the bottom fabric of each leg about ½ inch inwards, press with an iron, fold another ½ inch, press again and sew along the folded edge to create a clean hem.
Step 7: Create an elastic casing
Fold the top edge of your pants down about ¼ inch towards the wrong side of the fabric and press with an iron. Fold it again by approximately the width of your elastic waistband + ¼ inch then sew along the edge, leaving a small opening to thread the elastic through.
Step 8: Insert elastic
Cut an elastic band to your waist measurement minus an inch. Attach a safety pin to one end of the elastic and carefully thread it through the casing you just created. Once threaded, overlap both ends about an inch and sew them securely together. Close up the casing by sewing this final gap shut.
Conclusion:
That’s it! You’ve successfully created your own pair of custom-made palazzo pants. Now you can enjoy wearing these stylish and comfortable pants while showcasing your unique fashion sense and creativity!


