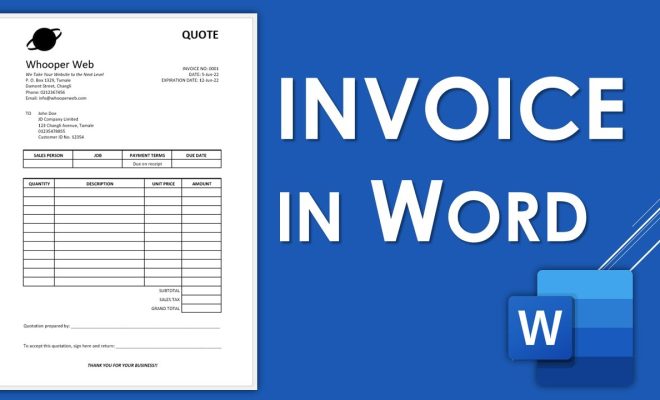
How to Make Invoices in Microsoft Word

Introduction:
Managing your business finances is crucial to its success, and being able to create invoices quickly and efficiently is a top priority for most businesses. While there are many invoicing software options available, some customers prefer using Microsoft Word for formatting their invoices. This article provides a step-by-step guide on how to make an invoice in Microsoft Word.
Step 1: Choose a Template
1. Open Microsoft Word.
2. Click on “File” in the top-left corner of the window.
3. Select “New” from the dropdown menu.
4. In the search bar, type “invoice” and press Enter.
5. Microsoft Word presents you with several invoice templates. Browse through them and choose one that best suits your business needs.
Step 2: Customize the Invoice Template
1. Once you’ve chosen your template, fill out the details such as your company name, address, contact details, and logo by simply clicking on the relevant text boxes and entering your information.
2. Edit and customize the color scheme, font style, or any other design aspect by selecting the element and using the options available under “Format” or the design tab.
Step 3: Add Client Information
1. On the invoice template, locate the text box meant for customer information.
2. Enter your client’s name, address, contact details, and email.
3. Make sure you have a unique invoice number included in your invoice as well (this can also be done automatically with some templates).
Step 4: List Items or Services Provided
1. Identify the table for product/service description within your template.
2. Enter each item or service you provided along with relevant details such as quantity, unit price, and total cost.
3. Ensure that all calculations are accurate.
Step 5: Include Additional Information
1. Add any additional necessary information like payment terms, due date, and bank account details based on your
agreement with the client.
2. Don’t forget to include a thank-you note or personal message for the client in the comments section.
Step 6: Save and Export Your Invoice
1. When you’re satisfied with your invoice, click “File” in the top-left corner.
2. Select “Save As” and choose where you’d like to save your invoice.
3. In the “Save as type” dropdown menu, choose “PDF” before clicking “Save.” This will ensure that formatting remains intact when your client receives the invoice and prevents any accidental changes to the document.
Conclusion:
Creating professional invoices in Microsoft Word can help streamline the payment process for businesses and freelancers alike. By using templates and customizing them to suit your needs, invoicing becomes a hassle-free task. Just make sure to keep a record of all your invoices and stay organized with proper bookkeeping practices. This way, you can track payments more effectively and maintain control over your finances.


