How to Make a Stencil: 12 steps

Making a stencil is a fun and creative way to personalize items or bring life to your DIY projects. Follow these simple 12 steps to create stencils and let your creativity flow.
1. Gather Materials: Start by gathering all the necessary materials like stencil paper, pencil, cutting mat and an X-acto knife.
2. Choose Your Design: Look for a design you love or create your own. For beginners, it’s better to choose a simple design with fewer details.
3. Print or Draw: Print the design in the size you want for your stencil, or draw it directly on the stencil paper using your pencil.
4. Secure Your Design: If you printed the design, lay the printed image on top of the stencil paper and then tape them together so they don’t move during cutting.
5. Prepare Your Cutting Mat: Place the cutting mat on a flat surface. This will protect your table from any accidental cuts.
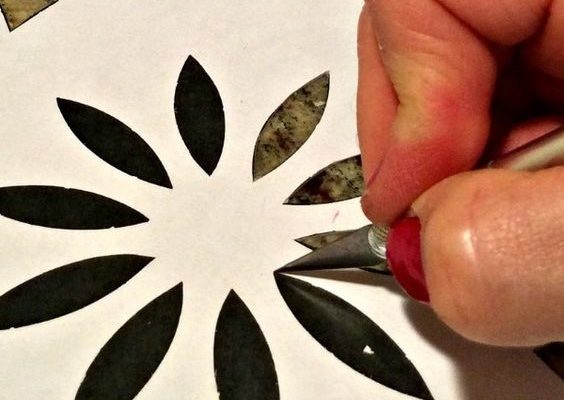
6. Cut Out Your Design: Hold the X-acto knife firmly and begin cutting along the lines of your design. Start with larger areas first and then move on to more intricate details.
7. Be Careful with Bridges: Bridges in stencils are the areas that connect different elements of the design and prevent them from falling apart. Make sure not to cut through these bridges while cutting out your stencil.
8. Clean Up Edges: After you have finished cutting out your design, gently remove any scraps of paper or uneven edges with your X-acto knife.
9. Peel Off Backing Paper (if applicable): If you’re using adhesive-backed stencil paper, carefully peel off the backing paper once all cuts are completed.
10. Test Your Stencil: Before using it in your main project, test the stencil on a scrap piece of material similar to what you’re planning to use it for. This will help you identify any adjustments that need to be made.
11. Apply Your Stencil: Position the stencil on your desired surface and secure it with painters tape to prevent it from slipping.
12. Start Stenciling: Now, apply paint or a suitable medium on top of the stencil using a brush, roller, or sponge. Remove the stencil carefully and let the paint dry.
Congratulations! You have now created your very own stencil following these 12 easy steps. Enjoy adding unique designs to your items and explore new ways to use stencils in your projects.


