How to Make a Quiver for Arrows: 7 Steps

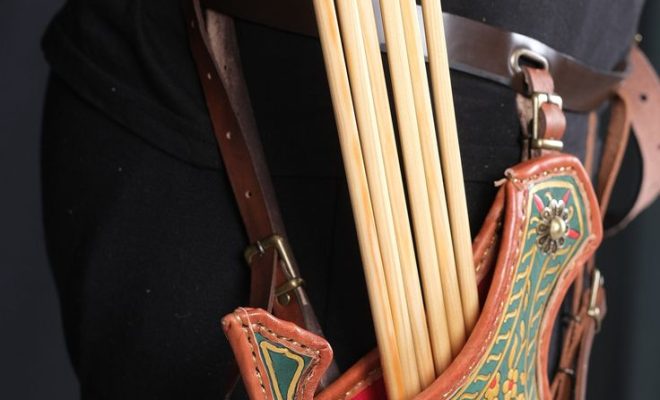
If you have taken up archery as a hobby or sport, you will quickly come to understand the importance of having a reliable quiver to hold your arrows. A quiver allows you to efficiently store and access your arrows, saving you time and effort. In this article, we will outline 7 steps to make your own customized quiver for arrows.
1. Choose the Material:
The first step in creating a quiver is choosing an appropriate material. You can use leather, PVC pipe, or even a thick fabric like canvas. Consider which material best suits your needs in terms of durability, aesthetics, and budget.
2. Measure and Cut:
Measure the length and diameter you would like for your quiver according to the size of your arrows. Ensure there is enough space for smooth insertion and removal without cluttering. Mark the measurements on your chosen material and cut it accordingly.
3. Sewing or Assembling the Body:
If you’re using fabric or leather, fold the material into a cylindrical shape with the right sides facing each other and sew along the edge. For PVC, connect a PVC cap to one end of the pipe using PVC glue.
4. Reinforce the Bottom:
To reinforce the bottom of your quiver and prevent arrows from poking through, add an additional layer of material (e.g., foam or thick leather). If using PVC pipe, ensure that the bottom cap is securely glued in place.
5. Customizing Strap Attachments:
Attach straps to make it easy to carry your quiver on your back or at your side. You can use nylon webbing or leather belt-like straps secured with glue or sewn onto fabric and leather quivers. For PVC pipes, drill holes near the upper end of your quiver to loop through carabiners or clamps for attaching straps.
6.Prepare a Fastening Mechanism:
For fabric and leather quivers, sew on hook-and-loop fasteners (Velcro) to secure the top end of your quiver when not in use. For PVC quivers, you may use a rubber or silicone cap that fits snugly on the opening.
7. Final Touches and Accessories:
Attach extra features such as pockets for storing gloves, bowstring wax, or small tools. Use embroidery or fabric paint to customize the look and design of your quiver with patterns or symbols unique to you.
Now that you know the 7 steps to make a quiver for arrows, you can create a customized and functional piece of equipment for your archery needs. Whether you are a seasoned archer or just starting out, this homemade quiver will surely prove useful during practice and competitions.


