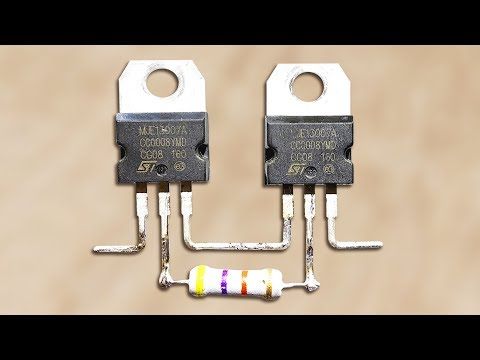
How to Make a Parallel Circuit

A parallel circuit is one of the fundamental types of electrical circuits found in various electronic devices and appliances. It consists of multiple paths for electric current to flow through, dividing the total current among different components connected in parallel. This configuration has several advantages in comparison to series circuits, including consistency in voltage across components and the ability to add or remove elements without affecting the entire circuit. In this article, we’ll walk through the process of creating a simple parallel circuit step by step.
Materials you’ll need:
1. A battery or power source
2. Electrical wire
3. Two or more resistors (or other electronic components)
4. Soldering iron and solder (optional)
5. Wire stripper/cutter
6. Breadboard (optional)
Step 1: Choose your power source
To start building a parallel circuit, you’ll need to select an appropriate power source, such as a battery or power supply. The voltage rating of this power source must be suitable for the electronic components you plan to use in your circuit.
Step 2: Prepare the electrical wire
Using a wire stripper/cutter, cut pieces of electrical wire appropriate for connecting your components to the power source and connecting them in parallel.
Step 3: Connect the first component
Attach one end of a piece of wire to the positive terminal of your power source (usually indicated by a “+” sign). Then attach the other end to one terminal on your first electronic component, such as a resistor.
Step 4: Connect additional components in parallel
For each subsequent component you wish to add in parallel, connect one terminal to the same point where you connected the first component’s terminal. Ensure all corresponding terminals (e.g., terminals from all resistors) connect together.
Step 5: Complete the circuit
Take another piece of wire and attach one end to the negative terminal on your power source (indicated by a “-” sign). Then, connect the other end to the remaining terminal on the first component. Repeat this process for each additional component you’re using, connecting all the corresponding terminals together.
Step 6: Test your parallel circuit
Ensure you have connected all components correctly, with no short circuits or disconnected wires. Power up your circuit using your chosen power source and verify that all components are functioning as they should.
(Optional) Step 7: Transfer your parallel circuit to a breadboard or solder it together
For a more permanent setup, you can transfer your parallel circuit onto a breadboard or solder the connections between components and wires. This ensures that your circuit remains stable and reliable for longer periods of use.
Now you’ve successfully built a parallel circuit! By adjusting your choice of components and voltage ratings, you can experiment with various configurations and their effects on current and power distribution within the parallel circuit.


