How to Knit Mittens

Introduction:
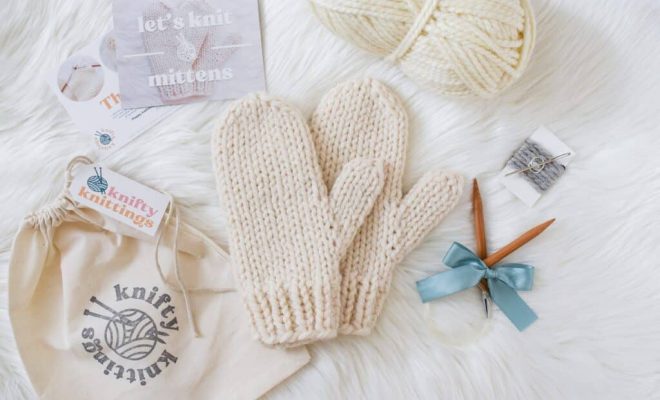
Knitting mittens is a rewarding and enjoyable project for both beginners and experienced knitters. Keep your hands warm during the chilly months by following this step-by-step guide on how to knit a pair of cozy mittens.
Materials Needed:
1. Yarn – Choose a soft and warm yarn, such as wool or a wool blend in your preferred color
2. Knitting needles – Circular or double-pointed needles (recommended size depends on the yarn)
3. Scissors
4. Stitch markers
5. Tapestry needle
Step 1: Determine Your Gauge
Before you start knitting, it is essential to determine your gauge to ensure that the mittens fit properly. To do this, knit a small swatch using your chosen yarn and needles, following the manufacturer’s recommended gauge.
Step 2: Cast on Stitches
Begin by casting on the appropriate number of stitches required for your mitten size. You may need to consult a mitten pattern to determine this number based on your gauge
Step 3: Cuff Ribbing
Now you’ll start working on the cuff ribbing, which helps ensure a snug fit around your wrist. A common ribbing pattern is K2, P2 (knit 2 stitches, purl 2 stitches). Continue this pattern until you reach the desired cuff length.
Step 4: Establishing the Hand Pattern
Once the cuff is complete, you will start working on the main part of the mitten by knitting in stockinette stitch (knit one round, purl one round). However, keep in mind that some patterns might require different stitch designs for added texture.
Step 5: Preparing for Thumb Gusset
While continuing with the main pattern, start increasing stitches on each side of a stitch marker to create the thumb gusset. The increases are typically worked every few rounds, depending on the pattern.
Step 6: Separating the Thumb
After completing the desired thumb gusset size, you need to separate the thumb stitches from the hand stitches. Slip the thumb stitches onto a stitch holder or waste yarn for later, and cast on a few stitches to bridge the gap between the hand and thumb.
Step 7: Finishing the Hand
Continue knitting your mitten in rounds without increasing for the thumb until you reach your desired length. To shape the top of the mitten, follow a decrease pattern that suits your design.
Step 8: Working on the Thumb
Now it’s time to return to those saved thumb stitches. Transfer them back onto needles and begin knitting in rounds. Follow any necessary increase or decrease instructions in your pattern until you reach the desired thumb length. Close up the top of the thumb by using a Kitchener stitch or a simple decrease pattern.
Step 9: Finishing Touches
Weave in all loose ends using your tapestry needle and trim any excess yarn with scissors. You can choose to block your mittens lightly to even out any inconsistencies in stitching and improve their overall fit.
Step 10: Knit Your Second Mitten
Repeat steps 1-9 to knit your second mitten, making sure to mirror any unique design or shaping meant for left and right hands.
Congratulations! You have successfully completed knitting a pair of cozy and warm mittens perfect for cold weather. Remember that with practice comes perfection, so feel free to experiment with different yarns, patterns, and techniques as you continue on your knitting journey.


