How to Install OpenMediaVault on a Raspberry Pi

OpenMediaVault is a free and open-source network-attached storage (NAS) software designed to provide an easy-to-use web interface to manage your storage needs. With its amazing features, it has become the preferred choice for managing NAS on Raspberry Pi. So, if you want to turn your Raspberry Pi into a NAS server, here are the steps to install OpenMediaVault on a Raspberry Pi.
Step 1: Check Raspberry Pi Compatibility
To use OpenMediaVault on Raspberry Pi, you must ensure that your device is compatible with it. You will need a Raspberry Pi 2, 3, or 4 with at least a 16 GB microSD card. Also, make sure to check that your Raspberry Pi has the latest firmware.
Step 2: Install OpenMediaVault
Downloading and installing OpenMediaVault on Raspberry Pi is pretty straightforward. Here are the steps to install OpenMediaVault on a Raspberry Pi:
- Go to the OpenMediaVault download page, and download the latest version of OpenMediaVault for ARM processors.
- Insert the microSD card into your computer.
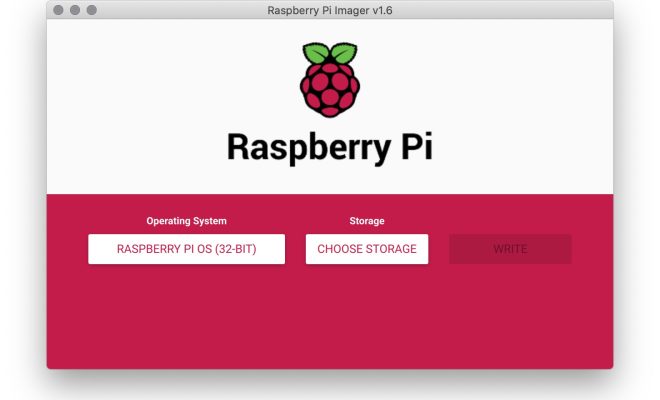
- Use the Raspberry Pi Imager software to flash the OpenMediaVault image onto the microSD card (Make sure to select the OpenMediaVault image and your microSD card from the dropdown menu).
- Once the flashing is done, unmount the microSD card and insert it into your Raspberry Pi.
Step 3: Configuring OpenMediaVault
After the installation process, it’s time to configure OpenMediaVault for use. Here’s what you need to do:
- Connect a network cable to your Raspberry Pi and power it up.
- After a few minutes, OpenMediaVault should be up and running. You can access the web interface by opening your web browser, typing the IP address of your Raspberry Pi into the address bar, and hitting Enter.
- You will be asked to log in, use the default login credentials:
Username: admin
Password: openmediavault
- Once you log in, you will be prompted to change your password.
- After you change your password, you will see the OpenMediaVault Dashboard. Here, you can perform various storage-related tasks, such as creating shared folders, adding users, and much more.


