How to Install a Storm Door: 14 Steps

A storm door is an excellent addition to any home as it provides an extra layer of protection against harsh weather conditions and enhances energy efficiency. Installing a storm door may seem like a daunting task, but with the right tools and instructions, it can be a straightforward and rewarding DIY project. Here are 14 steps to guide you through the installation process.
1. Measure your entryway: Before purchasing a storm door, accurately measure the width and height of your doorway to ensure you get the correct size.
2. Choose the appropriate storm door: Select a storm door that fits your measurements, complements your home’s style, and meets your specific requirements (e.g., full-view, ventilating, or retractable screen).
3. Gather the necessary tools: Collect all the required tools, including a drill, screwdriver, tape measure, level, pencil, sawhorses, and safety glasses.
4. Read manufacturer’s instructions: Study the installation guidelines provided by the storm door manufacturer and familiarize yourself with the parts included in the package.
5. Prepare the doorway: Remove any existing storm door or debris around the entrance and ensure that the surface is clean and even.
6. Install mounting brackets: Attach mounting brackets to either side of your doorway according to the manufacturer’s instructions.
7. Assemble the storm door frame: Following the guidelines provided by the manufacturer, assemble the storm door frame on sawhorses or another flat surface.
8. Attach hinges to the frame: Screw hinge rail into place on one side of the frame while ensuring that it is level and properly aligned.
9. Position door sweep (weather stripping): Attach this essential component at the base of your storm door frame for added insulation and protection from drafts.
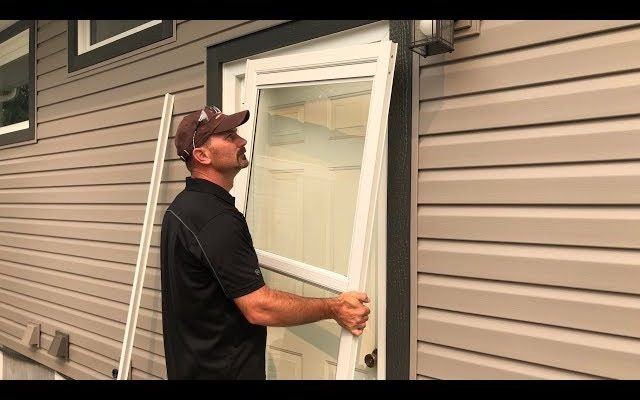
10. Hang the storm door: Carefully lift your assembled storm door onto its hinges within your doorway opening while ensuring that all parts align correctly. Please enlist the help of a friend if needed.
11. Secure the storm door: Affix your storm door to the mounting brackets by driving screws through the hinge rail and into door jamb.
12. Install handle and lockset: Following manufacturer’s directions, attach the door handle and lockset to your storm door.
13. Attach closers and safety chain: Install closers at the top and bottom of your storm door as per specified guidelines to keep your door securely closed. Additionally, attach a safety chain to prevent damage from overextension.
14. Make final adjustments: Test your storm door for proper functioning by opening and closing it multiple times. Make any necessary adjustments to ensure smooth operation.
By following these 14 steps, you will have successfully installed a storm door that not only looks great but also provides an extra layer of protection for your home. Enjoy the benefits of improved energy efficiency and enhanced curb appeal!


