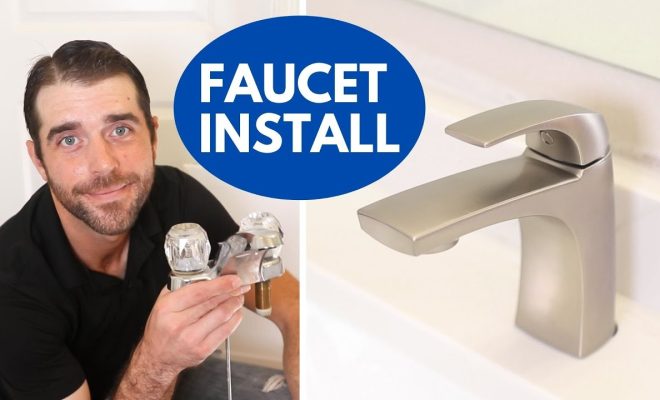
How to Install a Faucet: 10 Steps

Introduction:
Installing a new faucet can give your bathroom or kitchen a fresh look and improve its functionality. Although it might seem like a daunting task, with the right tools and these 10 easy steps, you can install your faucet yourself.
Step 1: Gather your tools
To install a faucet, you will need the following tools:
– Adjustable wrench
– Plumber’s tape
– Plunger
– Screwdriver
– Teflon tape
– Bucket
Step 2: Turn off the water supply
Before starting any work, make sure to turn off the water supply to the sink by closing the shutoff valves on both hot and cold-water lines.
Step 3: Remove the old faucet
To remove the old faucet, use an adjustable wrench to loosen and remove all nuts and screws connecting it to the sink. Be careful not to damage any components while removing them.
Step 4: Clean the sink area
After removing the old faucet, clean the sink area thoroughly to remove any debris, rust, or buildup. If needed, use a cleaning solution or vinegar to get rid of stubborn grime.
Step 5: Prepare the new faucet
Unpack your new faucet and check if all parts are present as per the manufacturer’s instructions. Apply Teflon tape or plumber’s tape around threads of water supply lines to prevent leaks.
Step 6: Insert new faucet in place
Gently insert the new faucet through holes in your sink, ensuring it sits evenly in its position. Carefully align any gaskets provided with your new faucet as this will create a seal between the sink and faucet base.
Step 7: Secure it from below
Underneath the sink, place washers on each connection point before tightening nuts with an adjustable wrench. Securely connect your new faucet to avoid any wobbles or movements when used.
Step 8: Connect water supply lines
Attach water supply lines to the faucet by connecting the hot and cold-water lines to their respective inlets. Use adjustable wrenches to tighten connections firmly but do not overtighten.
Step 9: Re-check for leaks
Once everything is connected, turn the water supply back on and check for any leaks around the faucet and water supply lines. If you detect any leaks, recheck connections and apply more Teflon tape if necessary.
Step 10: Test your new faucet
Run the faucet, check for proper water flow, and ensure that both hot and cold-water functions work correctly. Congratulations, you have successfully installed your new faucet!
Conclusion:
Upgrading your faucet can instantly refresh the look of your bathroom or kitchen. By following these 10 easy steps, you’ll not only save money but also enjoy a sense of personal accomplishment from having completed a DIY project!


