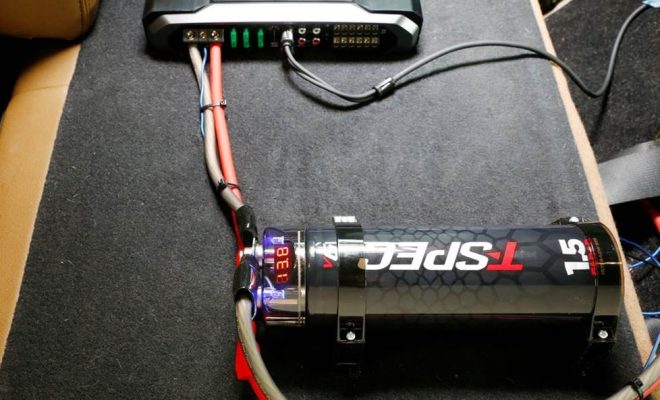
How to Install a Capacitor

Capacitors are essential components in electrical circuits, serving as energy storage devices that can help start motors, filter signals, and much more. Installing a capacitor may seem daunting, but with the right tools and knowledge, it’s achievable even for beginners. In this article, we’ll walk you through the process of installing a capacitor in just a few straightforward steps.
Before starting, make sure you have the necessary tools and materials:
1. Capacitor (with the appropriate specifications)
2. Soldering iron and solder
3. Wire cutter and wire stripper
4. Heat-shrink tubing or electrical tape
5. A multimeter (optional but recommended)
Step 1: Identify the capacitor’s leads
Capacitors usually have two leads – one positive (longer) and one negative (shorter). In some cases, capacitors may be marked with a + or – sign, or indicate polarity with colored bands.
Step 2: Prepare your circuit
Turn off the power to your circuit before working on it. If possible, remove the component where you’ll be installing the capacitor for easier access.
Step 3: Trim and strip your wires
Using a wire cutter, trim both leads on the capacitor to the appropriate length based on your circuit’s layout. Next, use a wire stripper to remove approximately ¼-inch of insulation from each lead.
Step 4: Position the capacitor in your circuit
Place the capacitor within your circuit so that its leads line up with the corresponding connections. Ensure that polarity is correct – connect the positive lead to the positive connection point and the negative lead to the negative connection point.
Step 5: Solder the connections
Heat up your soldering iron and carefully apply solder to secure each of the leads to their respective connection points. Allow for enough time (~15-30 seconds) for soldered connections to cool down before handling.
Step 6: Insulate the connections
Slide a piece of heat-shrink tubing over each soldered connection and use a heat gun or similar device to shrink the tubing, creating a snug, insulated fit. Alternatively, wrap each connection with electrical tape.
Step 7: Reassemble your component (if necessary)
If you removed any components from your circuit during installation, ensure they’re securely reattached.
Step 8: Test your installation
Turn on your circuit and carefully check for proper capacitor function. If you have a multimeter, use it to verify that voltage at the capacitor’s terminals matches the expected values.
Congratulations! You’ve successfully installed a capacitor in your electrical circuit. Now that you understand this process and have gained some experience, you can apply this knowledge to future projects requiring capacitors.


