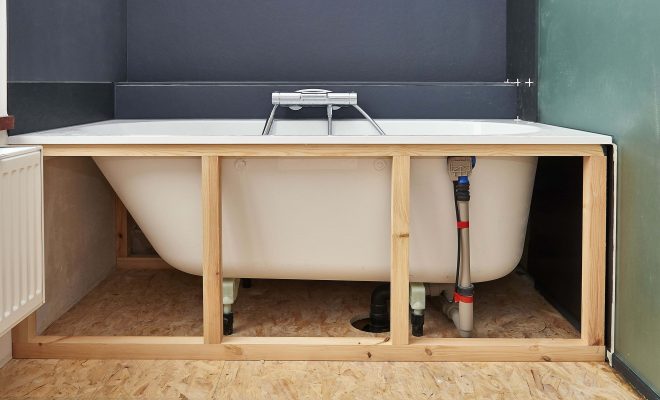
How to Install a Bathtub

A new bathtub can transform the look and feel of any bathroom, offering a perfect space to relax and unwind. Installing a bathtub might seem intimidating, but with proper planning and guidance, you can complete this DIY project in no time. In this article, we’ll walk you through the process of installing a bathtub step-by-step.
Required Tools and Materials:
– Bathtub
– Level
– Tape measure
– Screwdriver
– Plumber’s tape
– Pipe wrench
– Adjustable wrench
– Stud finder
– Carpenter pencil or marker
– Hacksaw or reciprocating saw
– Hammer and nails (or screws)
Step 1: Preparing the Work Area
Before you begin, ensure that your bathroom is adequately prepared for the installation. Remove any old fixtures, tiles, and the existing bathtub if necessary. Clean and level the floor where the new bathtub will be installed.
Step 2: Determine the Bathtub Position
Using a stud finder, locate and mark the studs in the walls surrounding your bathtub. Measure the distances from each stud to find the center point on each wall to center your tub in place.
Step 3: Install Drain and Overflow Plumbing
Align the drain hole of your bathtub with the floor drain hole. Ensure that any necessary piping is connected correctly, making use of plumber’s tape for a watertight seal. Attach the overflow pipe to the overflow opening on your tub.
Step 4: Position Your Bathtub
Carefully position your bathtub into place, aligning it with your previously marked center points. Ensure that it is level by placing a level across its top edge. Adjust as needed for even leveling.
Step 5: Adjust the Legs
If applicable, adjust or shim the legs of your bathtub so that it sits evenly on your bathroom floor without any wobbling or instability.
Step 6: Secure Bathtub to Wall Studs
Using your carpenter pencil or marker, mark the position of the top flange of your bathtub onto the wall studs. Drill pilot holes and secure the bathtub to the studs with the appropriate nails or screws.
Step 7: Install Faucet and Water Supply
Install your faucet and water supply lines according to the manufacturer’s instructions. Ensure a secure connection to prevent leaks.
Step 8: Caulk Around Bathtub
Apply a thin bead of caulk around the edge of your bathtub where it meets your bathroom wall, sealing any gaps and preventing water damage.
Step 9: Finish Your Walls and Flooring
Finish installing your bathroom walls and flooring as desired.
Step 10: Test Your Work
Fill your bathtub with water to check for any leaks. If you find any issues, drain the tub and address them before refilling it again.
With patience and careful planning, you can successfully install a new bathtub in your bathroom. Not only will this project enhance the appearance of your space, but it’ll also provide you with an inviting space for relaxation.


