How to Fix Windows 11 Ethernet Driver Problems
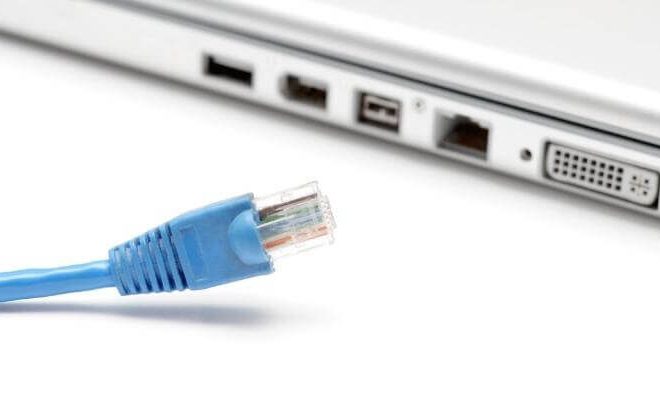
Ethernet driver problems can be frustrating and can hinder your internet connectivity on your Windows 11 computer. When your computer is experiencing Ethernet driver problems, you cannot connect to the internet, which is a huge problem. However, there are several ways you can fix Ethernet driver problems on Windows 11. In this article, we will outline some of those methods.
Method 1: Update the Ethernet Driver
One of the most common reasons for Ethernet driver problems is an outdated driver. You can update your Ethernet driver manually or automatically. To update the Ethernet driver manually, you need to first identify the brand and model of your Ethernet adapter. Here are the steps to follow:
1. Right-click on the Start menu and select Device Manager.
2. Expand the Network adapters category by clicking the arrow next to it.
3. Right-click on your Ethernet adapter and select Update driver.
4. Choose to search automatically for updated driver software.
5. If an updated driver is available, Windows will download and install it automatically.
If Windows doesn’t find an updated driver, you can visit the manufacturer’s website and download the latest version of the driver for your Ethernet adapter.
Method 2: Disable and Re-enable the Ethernet adapter
You can also fix Ethernet driver problems on your Windows 11 computer by disabling and re-enabling the Ethernet adapter. Here’s how to do it:
1. Press the Windows logo key + X and select Device Manager from the list.
2. Expand the Network adapters category.
3. Right-click on the Ethernet adapter and select Disable device.
4. Wait for a minute and then right-click on the Ethernet adapter and select Enable device.
Method 3: Use the Network Troubleshooter
Windows 11 has a built-in network troubleshooter that can help fix Ethernet driver problems. Here’s how to use it:
1. Press the Windows logo key + I to open Windows Settings.
2. Click on Network & Internet.
3. Click on the status icon to access the Network status page.
4. Click on Network troubleshooter.
5. Follow the on-screen instructions.
Method 4: Reset the TCP/IP
If none of the above methods work, you can reset the TCP/IP settings to fix Ethernet driver problems on your Windows 11 computer. Here’s how to do it:
1. Open the Command Prompt as an administrator.
2. Type the following command and press Enter:
netsh int ip reset
3. Wait for the process to complete.
4. Restart your computer.
Conclusion
In conclusion, Ethernet driver problems on Windows 11 can be frustrating, but they can be easily fixed by following the above methods. Updating the Ethernet driver, disabling and re-enabling the Ethernet adapter, using the network troubleshooter, and resetting the TCP/IP settings are some of the methods that can help you fix Ethernet driver problems on your Windows 11 computer.