How to Do Split Screen on Chromebook
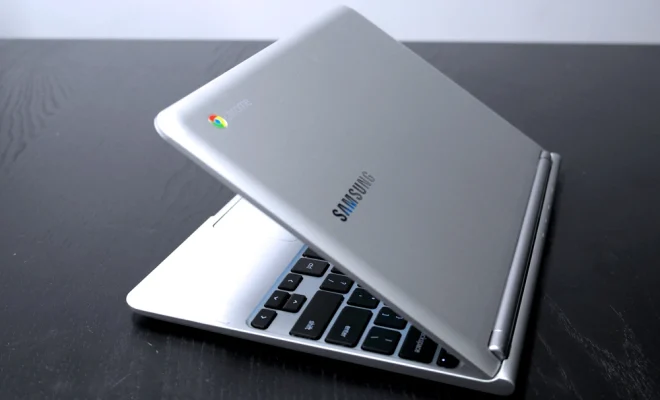
Chromebooks are becoming increasingly popular due to their affordability and ease of use. One of the best features of a Chromebook is the ability to do split-screen multitasking, which allows you to view two windows side by side. This is a great feature for students, professionals, and anyone who needs to work on multiple tasks at once. Here’s how to do split screen on a Chromebook.
1. Open Two Windows
To start split-screen multitasking, you need to have two windows open. You can open windows by clicking on the app icon in the app launcher or by using the keyboard shortcut “Alt + [“. Once you have two windows open, you’re ready to move on to the next step.
2. Resize the Windows
Next, you need to resize the windows so that they can fit side by side. Click and hold on the edge of one of the windows and drag it to the left or right side of the screen. The window will snap into place, taking up half of the screen. Repeat this process with the other window on the opposite side of the screen.
3. Adjust the Size of the Windows
If you need to adjust the size of the windows, you can do so by clicking and holding on the edge of the window and dragging it to the left or right. You can also adjust the size of the windows by using the keyboard shortcut “Alt + [ or ]”.
4. Switch Between Windows
To switch between the two windows, simply click on the window you want to use. You can also use the keyboard shortcut “Alt + Tab” to quickly switch between the two windows.
5. Exit Split-Screen Mode
To exit split-screen mode, click and drag the edge of one of the windows to the center of the screen. The window will snap back to its original size, and you can continue using your Chromebook as normal.
Split-screen multitasking is a great feature that can help you be more productive on your Chromebook. By following these simple steps, you can easily do split screen on your Chromebook and work on multiple tasks at once.