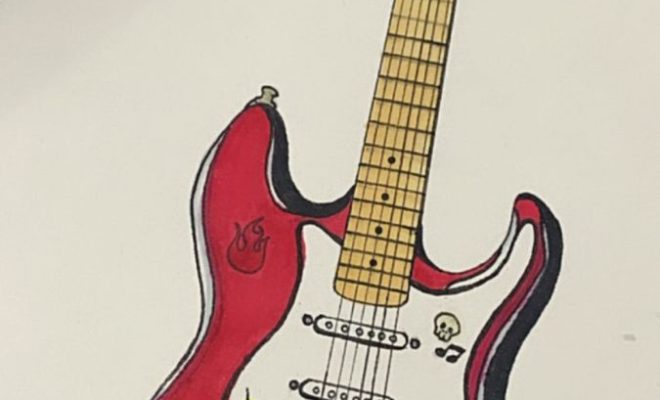
How to Custom Paint Your Electric Guitar

Introduction:
Customizing the appearance of your electric guitar can give it a unique and stylish look that sets you apart from other musicians. One of the most effective ways to achieve this is through custom painting. In this article, we will walk you through the process of custom painting your electric guitar step by step.
Step 1: Gather your materials
Before you begin, gather all the necessary materials to ensure a smooth process. Here’s what you’ll need:
– An electric guitar
– Sandpaper (various grits, from 220 to 800)
– Painter’s tape
– Primer (spray or brush-on)
– Colored paint (spray cans or airbrush)
– Clear coat (spray or brush-on)
– A well-ventilated workspace
– Protective gear (gloves, mask, goggles)
Step 2: Disassemble your guitar
First, remove all the hardware and electronics from your guitar. This includes strings, pickups, knobs, and input jack. Store these parts in a safe place to avoid losing or damaging them during the painting process.
Step 3: Sand down the existing finish
Use low grit sandpaper (around 220) to remove the current paint job on your guitar. Ensure you sand all surfaces evenly until only bare wood is visible. Once this is done, use finer grit sandpaper (400 – 800) to smooth out any rough spots or imperfections.
Step 4: Mask off areas not being painted
Use painter’s tape to carefully cover any parts of the guitar’s surface you don’t want to be painted – for example, if you’d like to preserve its wooden texture in certain areas. This may include edges, fretboard, and other sensitive areas.
Step 5: Apply primer
After ensuring your work area is well ventilated and you’re wearing protective gear, apply a coat of primer to the guitar’s surface using either spray or brush-on primer. Allow the primer to dry according to the manufacturer’s instructions.
Step 6: Apply colored paint
Once the primer is completely dry, you can proceed with applying your chosen color of paint. Use either spray cans or an airbrush for this step. Apply multiple thin, even coats until you are satisfied with the depth of color. Make sure you allow each coat ample time to dry before applying the next.
Step 7: Apply clear coat
To preserve your custom paint job and ensure durability, apply a clear coat over the colored paint once it has dried completely. Again, use multiple thin and even coats. The more clear coats you apply, the better protected your paint job will be from scratches and other damage.
Step 8: Reassemble your guitar
After allowing enough time for the clear coats to dry thoroughly, carefully remove any painter’s tape from the guitar’s surface. Begin reassembling your guitar by reattaching all hardware and electronic components.
Step 9: Re-string your guitar
Once everything is back in place, string up your freshly painted electric guitar and enjoy playing on your unique and eye-catching instrument!
Conclusion:
Custom painting your electric guitar can be a fun and rewarding project, allowing you to express your creativity and personal style. By following these steps and using quality materials, you’ll have a one-of-a-kind instrument that not only looks fantastic but also stands up to plenty of playtime.


