How to Crochet a Granny Square

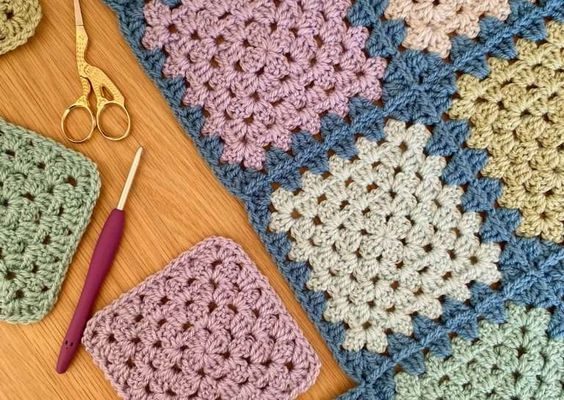
A granny square is a classic and versatile crochet motif that can be used to create a variety of projects, including blankets, scarves, and more. If you’re new to crochet or looking for an easy project to develop your skills, then learning how to crochet a granny square is the perfect place to start.
In this guide, we’ll walk you through the steps needed to crochet a basic granny square.
Materials Needed:
– Yarn (any color or type will do)
– Crochet hook (size depending on the yarn you chose)
– Yarn needle
– Scissors
Abbreviations:
ch = chain
sl st = slip stitch
dc = double crochet
1. Create a Slipknot and Chain Ring
To start crocheting your granny square, first make a slipknot and insert your crochet hook into it. Next, create a chain of 4 (ch 4). To create the foundation ring, form a circle by joining the first chain into the last with a slip stitch (sl st) in the first chain made.
2. Round 1
a. Ch 3 – This counts as your first dc.
b. In the center of your chain loop, work two more dc stitches.
c. Now it’s time to create one of your four corners. Ch 2.
d. In the same center loop, work three more dc stitches.
e. Repeat steps c-d twice more. At the end of this step, you will have four sets of three dc stitches separated by ch 2 spaces.
f. To finish round 1, create one last corner by ch 2 and connect to the top of your beginning ch 3 with a sl st.
3. Round 2
Sl st over to the corner space.
a. Ch 3 – This counts as your first dc.
b. In the corner space, work two more dc stitches and then ch 2 to form a new corner.
c. In the same corner space, work three more dc stitches.
d. Continue working this pattern for each corner: *[(3 dc, ch 2, 3 dc) in the next corner space]*. Repeat this three times.
e. To finish round 2, connect to the top of your beginning ch 3 with a sl st.
4. Round 3 & Beyond
Once you have completed round 2, you can continue in this established pattern for as many rounds as desired. The only difference is where you will start.
a. Sl st over to the corner space.
b. Ch 3 – This counts as your first dc.
c. Continue working the pattern from (*), ensuring that for every side of your square (besides the beginning and end) you create a ch-1 space between sets of three dc clusters.
To grow your granny square and keep it looking symmetrical, simply add additional chain spaces between sets of three dc stitches along each side of the square.
5. Finishing Your Granny Square
Once you’ve reached the desired size for your granny square, finish by fastening off your yarn and cutting it with scissors, leaving a yarn tail to weave in with a yarn needle.
With practice, you’ll become more comfortable with making granny squares, and soon you’ll find yourself creating beautiful and intricate projects with this versatile crochet motif. Happy crocheting!


