How to Clean Your VCR Heads

For those of you who still have a VCR, you may have noticed that your video tapes aren’t playing quite as well as they used to. It’s likely that the VCR heads are dirty and need to be cleaned. Cleaning your VCR heads will not only improve the playback quality of your tapes, but can also extend the life of your VCR. Here’s a step-by-step guide on how to clean your VCR heads.
Step 1: Gather Materials
You’ll need a few items to clean your VCR heads: a cleaning tape (which you can purchase at electronics stores), rubbing alcohol, a clean cloth, and cotton swabs.
Step 2: Insert Cleaning Tape
Insert the cleaning tape into your VCR and press play. Allow the cleaning tape to run for a few minutes before pressing stop and ejecting the tape.
Step 3: Apply Rubbing Alcohol
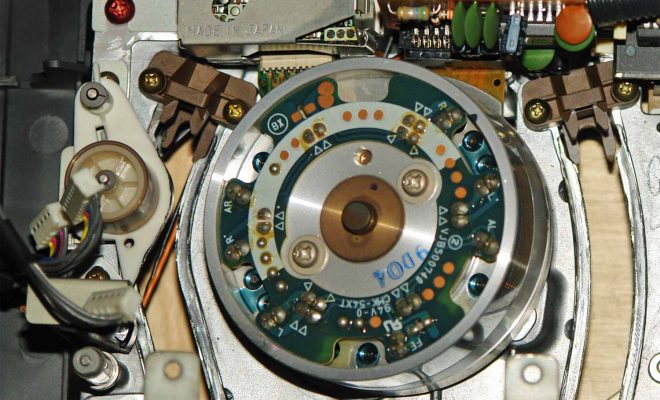
Dampen a cotton swab with rubbing alcohol and gently wipe the VCR heads. Be sure not to apply too much pressure or go over the same spot multiple times.
Step 4: Clean Exterior Parts
Use a clean cloth to wipe down the exterior parts of your VCR, such as the cassette compartment and exterior casing.
Tips:
– Avoid using a cotton swab with too much rubbing alcohol, as this can damage the VCR heads.
– Be sure to let the rubbing alcohol dry completely before inserting a video tape into your VCR.
– If your VCR heads are extremely dirty, you may need to repeat the cleaning process multiple times.
Cleaning your VCR heads is a quick and easy task that can greatly improve your video playback quality. With just a few simple steps and the right materials, you’ll be able to enjoy your favorite VHS tapes like they’re brand new.


