How to Clean a Meat Grinder: 13 Steps

Cleaning your meat grinder is a crucial step in maintaining its efficiency and longevity. By properly cleaning and maintaining your grinder, you’ll keep it working smoothly and prevent any potential contamination of your next batch of meat. Here are 13 steps to follow for safe and effective cleaning:
1. Unplug the grinder: Before you begin, always make sure your meat grinder is unplugged from the electrical outlet.
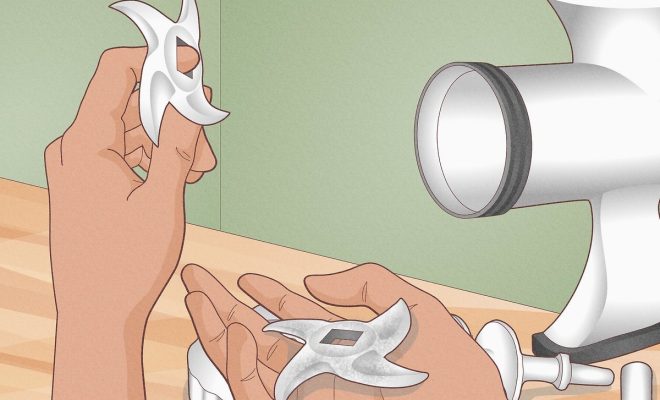
2. Disassemble the grinder: Start by disassembling the grinder according to the manufacturer’s instructions. Generally, this will involve removing the feeding tube, screw, blade, plate, and tray.
3. Use protective gloves and an apron: To protect your hands from sharp blades or grease, use gloves and wear an apron while cleaning your meat grinder.
4. Soak metal parts in warm water: Fill a sink or large container with warm water and carefully place the metal parts of the grinder in the water to soak for at least 10 minutes.
5. Scrub with a brush: Use a toothbrush or small brush to scrub every nook and cranny of each metal part of the grinder that had contact with meat during grinding.
6. Remove excess meat: Use a wooden skewer or toothpick to remove any excess meat lodged within hard-to-reach areas like the screw’s grooves.
7. Rinse thoroughly: After thoroughly scrubbing, rinse all the parts under running water to remove soap suds and debris.
8. Sanitize with soapy water: Mix dish soap with warm water in a separate sink or container and gently wash each part of the grinder to ensure proper sanitation.
9. Rinse again: Rinse each part again with clean water to remove lingering soap residue.
10. Dry all parts completely: Use a clean cloth or paper towel to dry each piece thoroughly, ensuring that no moisture remains on any surface.
11. Assemble the grinder: Once all parts are dry, reassemble the meat grinder according to the manufacturer’s instructions.
12. Perform a quick functionality check: Plug the grinder back in and turn it on briefly to ensure that all parts are working properly and nothing has been damaged during cleaning.
13. Store properly: After cleaning and reassembling, store your meat grinder in a dry and clean area, with proper protection from moisture, dust, and pests.
By following these 13 steps, you will ensure that your meat grinder stays clean and efficient, providing high-quality ground meat for your future culinary projects. Always remember to follow the manufacturer’s guidelines to avoid damaging your appliance, and never neglect regular maintenance for a long-lasting grinder.


