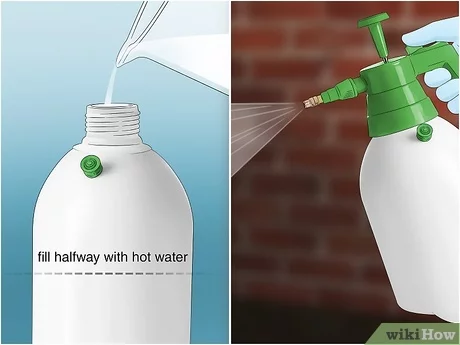
How to Clean a Garden Sprayer: 11 Steps

1. Empty the sprayer: Before you begin, make sure to empty the garden sprayer of any leftover liquid or chemicals. If there’s still a small amount left, spray it into a suitable container for proper disposal.
2. Rinse with water: Fill the tank with clean water and pump it through the sprayer, spraying the water out through the nozzle until the water runs clear. This will help flush out any residual chemicals.
3. Disassemble the sprayer: Carefully disassemble your garden sprayer, removing any hoses, nozzles, seals, filters, and other removable parts.
4. Soak removable parts: Fill a bucket with warm soapy water and place all of the removable parts in it. Allow them to soak for at least 30 minutes or according to the manufacturer’s recommendation to help remove any buildup or residue.
5. Clean the tank: While the removable parts are soaking, use a soft-bristle brush and warm soapy water to scrub the inside of the tank gently. Make sure you reach all corners and crevices where residue may have accumulated.
6. Rinse thoroughly: Once you’ve cleaned the tank, fill it with clean water and swirl it around to rinse away any soap or debris. Empty the tank completely and repeat this process until all soap has been rinsed out.
7. Clean removable parts: Remove each part from the bucket of soapy water and use a small brush (like an old toothbrush) to clean off any remaining residue or debris. Pay particular attention to nozzles, seals, and filters as they can easily become clogged
8. Rinse removable parts: Once you’ve cleaned all of the removable parts thoroughly, rinse them under clean running water to remove soap and any remaining debris.
9. Dry everything completely: Dry each component using a soft cloth or let them air dry. This is particularly important for seals, as damp seals can deteriorate and negatively impact the performance of your sprayer.
10. Reassemble the sprayer: Once all of the parts are clean and dry, reassemble your garden sprayer according to the manufacturer’s instructions. Make sure everything fits correctly and securely.
11. Test the sprayer: Once reassembly is complete, fill the tank with clean water and test the sprayer to make sure it’s working correctly. If everything seems okay, empty the tank once more and store your clean garden sprayer until you’re ready to use it again.
By following these 11 steps, you’ll ensure your garden sprayer remains in proper working condition and is ready for use whenever you need it. A well-maintained garden sprayer will provide more efficient and reliable performance, ultimately leading to better results in your gardening tasks.


