How to Change Wheel Bearings

Introduction
Wheel bearings are crucial components of your vehicle, ensuring smooth and safe driving. Over time, these bearings can wear down or encounter issues that call for their replacement. This article provides a 12-step guide on how to change wheel bearings yourself, potentially saving you time and money at a mechanic.
Step 1: Gather Tools and Materials
To change wheel bearings, you will need the following tools and materials:
– Car jack
– Jack stands
– Socket wrench set
– Pliers
– Hammer
– Flat head screwdriver
– Torque wrench
– Wheel chocks
– Replacement wheel bearing kit
Step 2: Park on a Flat Surface
Find a flat and stable surface to park your car on, allowing for safer jacking and easier work.
Step 3: Secure the Car with Wheel Chocks
Place wheel chocks behind the wheels opposite from where you will be working to prevent any chance of rolling.
Step 4: Loosen Lug Nuts
Before lifting the car, loosen—but do not remove—the lug nuts on the wheel with the socket wrench.
Step 5: Jack Up the Car
Using your car jack, raise your vehicle high enough to accommodate a jack stand under the frame or jacking point. Place jack stands under the vehicle once raised.
Step 6: Remove the Tire
Fully remove the loosened lug nuts and take off the tire, exposing the wheel hub.
Step 7: Remove Brake Caliper Assembly (if applicable)
Depending upon your vehicle’s design, you might need to remove the brake caliper assembly by unbolting it with a socket wrench. Secure it with bungee cords or zip ties to avoid strain on brake lines.
Step 8: Remove Rotor (if applicable)
On certain vehicles, you may also need to remove rotors; simply pull the rotor from the wheel hub.
Step 9: Remove Axle Nut (if applicable) and Cotter Pin
For vehicles with an axle nut, remove its cap using pliers and a flat head screwdriver. Then, extract the cotter pin using pliers and unscrew the axle nut with a socket wrench.
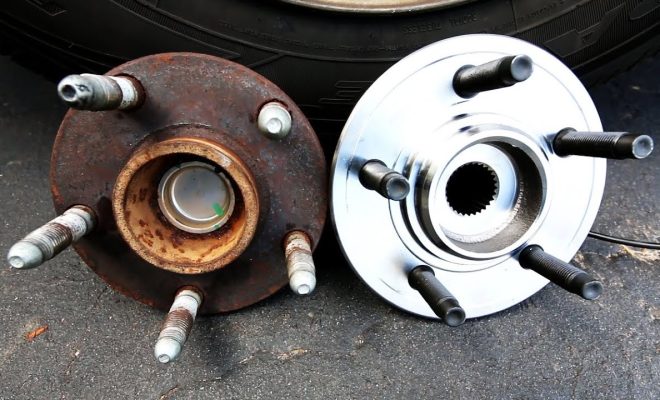
Step 10: Remove Wheel Bearing Assembly
Carefully tap the wheel bearing assembly with a hammer to loosen it from the wheel hub. This may require light or forceful taps, depending on its condition. Once loosened, pry it off using a flat head screwdriver.
Step 11: Install New Wheel Bearing
Mount the new wheel bearing assembly onto the wheel hub. Ensure proper alignment and check that it fits snugly.
Step 12: Reassemble Everything
Carefully reinstall all removed components in reverse order, making sure to properly torque each bolt and nut according to your vehicle’s specifications. Don’t forget to reattach brake lines if they were disconnected.
Conclusion
By following these 12 steps, you can successfully change wheel bearings on your own vehicle. As always, consult your vehicle’s owner’s manual for specific instructions and torque values for your make and model. Regularly changing worn-out wheel bearings ensures your car retains its smooth and controlled ride quality.


