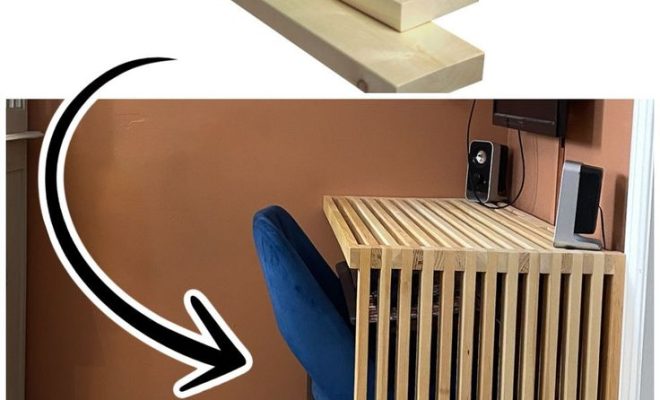
How to Build a Gaming Desk: 14 Steps

Introduction:
A gaming desk is an essential part of a dedicated gaming setup. Building your own gaming desk not only allows you to personalize it according to your needs but also helps you save some money. In this article, we will guide you through the process of building a gaming desk with 14 easy-to-follow steps.
Step 1: Plan Your Design
Start by planning the design of your gaming desk. Consider the size, shape, and material based on your available space, ergonomic requirements, and style preferences.
Step 2: Gather Materials and Tools
Based on your design plan, gather all necessary materials such as wood planks, screws, and paint. You’ll need some tools like a saw, drill, sandpaper, and screwdriver for assembly.
Step 3: Measure and Cut the Wood Pieces
Measure the wood according to your planned dimensions and cut them using a saw.
Step 4: Sand the Wood Pieces
After cutting the wood pieces, smooth out any rough edges using sandpaper.
Step 5: Assemble the Desk Frame
Connect the legs to the frame by joining two horizontal pieces and two vertical pieces using screws or brackets.
Step 6: Attach Support Beams
Add support beams to reinforce the frame and ensure its stability.
Step 7: Assemble the Desk Top
Using wood glue or screws, connect pieces of wood together to create the surface of your desk. Ensure that it’s flat and sturdy.
Step 8: Attach the Desk Top to the Frame
Securely attach the desktop to your frame with screws from underneath or brackets at each corner.
Step 9: Add Cable Management Solutions
Install cable management solutions such as holes or trays under your desk to keep cords organized.
Step 10: Paint or Stain the Desk
Depending on your preference, apply paint or stain to give your desk a personal touch and protect the wood.
Step 11: Add Customized Accessories
Consider adding accessories such as monitor mounts, LED lights, cup holders, or headphone hangers to enhance your gaming experience.
Step 12: Assemble Your Gaming Equipment
Arrange your gaming equipment on the desk, including a monitor, keyboard, mouse, and speakers.
Step 13: Test Your Desk Stability
Give your desk a test run by placing some weight on it (including your gaming equipment) to ensure that it can support everything properly.
Step 14: Enjoy Your Custom Gaming Desk
Now that you’ve successfully built your gaming desk, it’s time to enjoy countless hours of gameplay in comfort and style!
Conclusion:
Building a customized gaming desk may seem like a daunting task at first, but by following these 14 straightforward steps, you’ll create a personalized, functional, and stylish space for all your gaming needs. With proper planning and careful execution, you’ll soon be enjoying your dream gaming setup.


