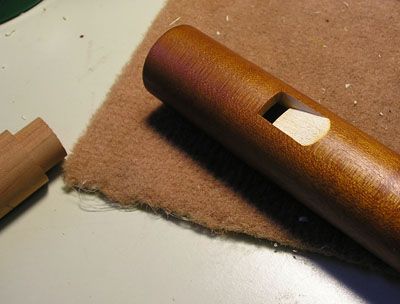
How to Assemble a Flute: 11 Steps

Introduction:
The flute is a beautiful and popular instrument that produces a wonderful, melodious sound. To play it effectively and enjoy its rich tones, it is essential to assemble the flute properly to ensure optimal performance. In this article, we will guide you through 11 steps to help you properly set up your flute.
Step 1: Gather the three main components
Assemble the flute by bringing together its three main parts: the headjoint, the body, and the footjoint.
Step 2: Handle with care
Flutes are delicate instruments and should be handled gently while assembling them. Always hold the flute by its main body or by gripping the ends of the parts without touching any of the keys or rods.
Step 3: Connect the headjoint to the body
Begin by fitting the headjoint into the body. Hold each part carefully and twist them gently together until they fit snugly. Be sure to align the lip plate hole with the center of any key on the body.
Step 4: Positioning the headjoint
Some flutists prefer having their lip plate slightly off-center, so experiment with different angles to find your ideal playing position.
Step 5: Attach the footjoint
Carefully slide and twist the footjoint onto the bottom end of your flute’s body until it fits securely. Make sure not to apply too much pressure while connecting these parts.
Step 6: Align footjoint keys
Align the footjoint rod with one end facing towards you and another pointing towards C key on your flute’s body. Proper alignment ensures that keys move fluently when pressed.
Step 7: Check for tightness
Make sure all connections between parts are firm but not overtightened – if something does not feel right, gently rotate until it fits properly.
Step 8: Attach your cleaning rod
Flutes accumulate moisture during playing, so regularly attach your cleaning rod to the headjoint, gently pull it through, and clean any excess moisture. This will help maintain your flute’s performance.
Step 9: Keep a firm grip
When holding and playing your flute, ensure a firm grip while keeping your fingers relaxed. This will enable a more comfortable playing experience and prevent fatigue.
Step 10: Adjusting posture
Practice proper posture during playing – sit up straight, feet flat on the floor, flute parallel to the ground, and elbows slightly away from your body.
Step 11: Fine-tuning
Fine-tune your instrument regularly by adjusting the headjoint in or out. Experiment with different positions until you achieve the desired pitch.
Conclusion:
Assembling a flute may seem challenging initially, but following these 11 steps will make it an easy and stress-free process. Always handle your instrument with care, practice proper posture, and keep it clean to ensure playing enjoyment for years to come. Happy playing!


