Easy Ways to Apply Tile Sealer: 15 Steps

Introduction:
Tile sealer is an essential solution that enhances the durability of your tile floors and walls. Applying it correctly can save you time and money on future repairs, while also making cleaning a breeze. In this article, we present 15 easy steps to help you apply tile sealer efficiently and effectively.
Step 1: Choose the right tile sealer
There are different types of sealers available for various tile materials. Research your options and select the appropriate sealant for your specific tiles to achieve the best results.
Step 2: Clean the surface
Before applying the sealer, make sure to properly clean your tiles. All dirt, dust, and debris should be removed from the surface. A clean and dry surface ensures better adhesion.
Step 3: Wait for tiles to dry
Wait for at least 24 hours after cleaning your tiles before applying sealer. This waiting period makes sure that moisture is adequately eliminated from the tile surface.
Step 4: Check surface for loose debris
Inspect your floor or wall one last time before starting with the application process. Remove any loose particles by sweeping or using a vacuum cleaner.
Step 5: Prepare your tools
Gather all necessary tools like a paintbrush, paint roller, spray bottle, sponge, gloves, and goggles. Make sure everything is clean and ready for use.
Step 6: Mix the sealer
Follow instructions on how to mix your chosen sealer in a container. Don’t mix more than one hour’s worth amount of sealer since the efficacy may decrease with time.
Step 7: Perform a patch test
Apply a small amount of sealer in an inconspicuous area to ensure it doesn’t cause staining or discoloration once dried.
Step 8: Start applying from one corner
Begin applying from one corner of the room while working your way across the tiles. This systematic approach will help ensure even coverage.
Step 9: Use a paintbrush for edges
Use a paintbrush to reach tight corners and edges, ensuring even application on the entire surface.
Step 10: Apply sealer with a paint roller or sprayer
For larger areas, use a paint roller or sprayer for quicker and consistent coverage. Make sure to avoid pooling by spreading out excess sealer.
Step 11: Wipe excess with sponge
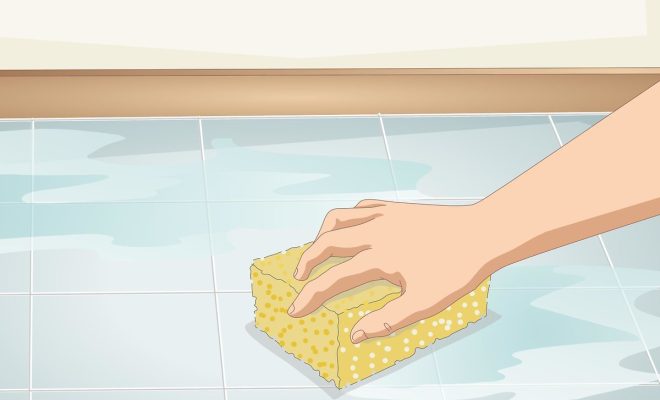
Gently wipe away any additional sealer using a clean and damp sponge. Avoid vigorous scrubbing as it can remove the sealer from the surface.
Step 12: Allow sealer to dry
Allow the applied sealer to dry for the recommended time as per manufacturer’s instructions.
Step 13: Add additional coats if necessary
Depending on the porousness of the tiles and recommend protection levels, you might need additional coats. Follow the same steps as before once the first layer is dry.
Step 14: Dispose of materials properly
Sealing agents can be hazardous to the environment so make sure to dispose of used materials, rags, containers, and brushes according to local regulations.
Step 15: Perform regular maintenance
Regularly clean your tiles, and reapply sealer as needed to maintain their durability and appearance.
Conclusion:
With these 15 easy steps, you can successfully apply tile sealer, ensuring your tiled surfaces remain attractive and well-maintained. By selecting appropriate sealers, following proper application techniques, and conducting regular maintenance, you’ll enjoy the benefits of effortlessly beautiful tiles for years to come.


