
How to Name a Star: 8 Steps
If you’ve ever looked up at the night sky and wondered about the stories behind the stars, you might be interested in naming one yourself. Whether it’s a gift for a loved one or a way to memorialize a special moment, naming a star can be an incredibly meaningful experience. In this article, we will guide you through the process of how to name a star in 8 simple steps.
1. Choose the constellation: The first step in naming a star is choosing the constellation where your star will belong. There are 88 official constellations, so you have plenty of options. Consider selecting one that has personal significance or one that’s visible during a certain time of year.
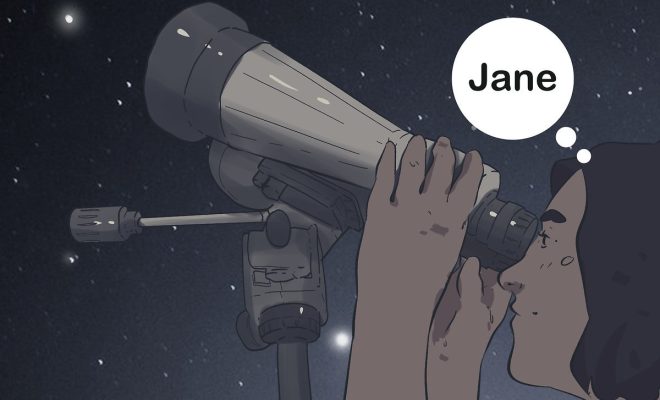
2. Pick the star: Once you’ve chosen your constellation, it’s time to select the specific star you would like to name. This step might require some research, as different stars have varying levels of visibility and brightness.
3. Research astronomical databases: To ensure that your chosen star hasn’t already been named, consult astronomical databases like the International Astronomical Union (IAU) or the Minor Planet Center (MPC). These organizations are responsible for cataloging celestial objects and maintaining up-to-date records.
4. Determine your budget: Naming a star can range from affordable to expensive, depending on the provider and services included in the package. Decide how much money you’re willing to spend before selecting a registry service.
5. Choose a reliable registry service: When it comes to naming stars, not all registry services are created equal. Make sure you choose an organization with positive reviews and an established history, such as the International Star Registry (ISR) or Star Name Registry.
6. Fill out the necessary information: Provide all required details for your chosen registry service, including your name, contact information, and desired star name. Some registries may also request additional details about why you’ve chosen to name a star, so be ready with a heartfelt explanation.
7. Pay the fee and receive your certificate: After submitting your information and paying the required fee, the registry service will typically send you a certificate confirming your star’s name. This document may include the star’s coordinates, brightness level, and other important details.
8. Share your star’s name: Now that you’ve officially named a star, share your cosmic accomplishment with friends and family. You might even want to plan a stargazing event in order to show off your celestial naming skills.
In conclusion, naming a star is an extraordinary way to memorialize an important moment or honor someone special. By following these 8 steps, you’ll be well on your way to securing a heavenly namesake that will shine brightly for generations to come.
