
5 Ways to Enable Spell Check on PC or Mac
Introduction
Spell check is a useful feature that can help you avoid typing errors, improve your writing, and ensure you make a good impression with your work. Many applications on both PC and Mac have built-in spell check options that you can enable to get real-time feedback on your typing. In this article, we will go through five different ways to enable the spell check feature on your computer, be it a PC or a Mac.
1. Enable Spell Check in Microsoft Word
Microsoft Word comes with a built-in spell checker that identifies potential spelling errors and suggests corrections as you type.
To enable this feature:
– Click on the “File” tab in the top left corner.
– Select “Options.”
– In the “Word Options” window, click on “Proofing.”
– Under “When correcting spelling and grammar in Word,” make sure the box beside “Check spelling as you type” is ticked.
– Click “OK.”
2. Enable Spell Check in Google Chrome
Google Chrome also offers a spell check feature as part of its web browser. This feature is very helpful when composing emails, filling out online forms, or posting on social media.
To enable spell check in Google Chrome:
– Click the three-dot menu icon in the top right corner of Chrome.
– Select “Settings.”
– Scroll down to “Advanced” and click to open additional options.
– Under “Languages,” click on “Spell check.”
– Toggle on the desired language by clicking on the switch.
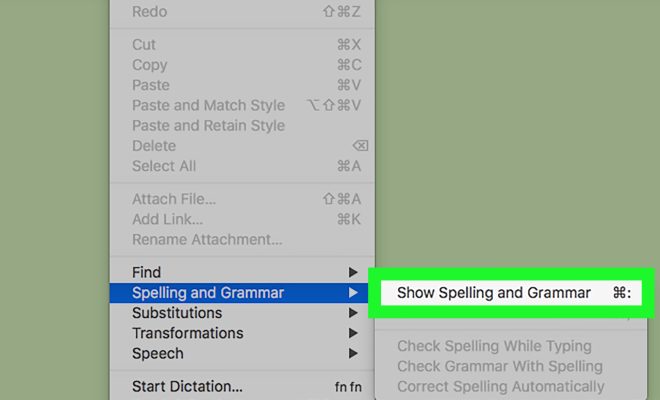
3. Enable Spell Check in MacOS System-Wide
MacOS offers system-wide spell checking that works across various applications like Pages, Mail, TextEdit, and more.
To enable system-wide spell checking:
– Click on the Apple icon in the top left corner.
– Choose “System Preferences.”
– Select “Keyboard.”
– Click on the “Text” tab
– Ensure the box beside “Correct spelling automatically” is checked.
4. Enable Spell Check in Windows 10: Microsoft Edge
Microsoft Edge, the default web browser for Windows 10, provides a built-in spell checker that can help you catch errors when typing in web forms, email clients, or other browser-based applications.
To enable spell check in Microsoft Edge:
– Click on the three-dot menu icon in the top right corner.
– Select “Settings.”
– Choose “Languages.”
– Under “Spell check,” toggle on the switch for your desired language(s).
5. Activate Spell Check in Mozilla Firefox
Mozilla Firefox offers a spell check feature that highlights potentially misspelled words by underlining them with a red squiggly line.
To enable spell check in Firefox:
– Click on the three-lined menu icon in the top right corner.
– Choose “Options” (or “Preferences” on a Mac).
– Select “General” from the left-hand sidebar.
– Scroll down to “Language & Appearance.”
– Under “Browsing,” ensure the box next to “Check your spelling as you type” is checked.
Conclusion
Enabling spell check on your PC or Mac can save you time, embarrassment, and frustration by helping you catch typos and spelling mistakes before they become larger issues. By following these five methods within various applications and browsers, you’ll be well on your way to error-free typing.


