3 Ways to Install an Ice Maker

Introduction
Ice makers are an essential addition to any modern kitchen, providing a continuous supply of perfect ice cubes to keep your drinks chilled. Installing an ice maker may initially sound like an intimidating proposition, but for those who have some DIY experience or are willing to acquire it, the advantages of having access to ice on demand cannot be overstated. In this article, we will explore three different methods to install an ice maker, giving you the flexibility to choose the one that best suits your needs.
1. Installing an Ice Maker Inside a Refrigerator
One of the most common ways to install an ice maker is directly inside your refrigerator. If your fridge already features an ice maker, you would simply replace the old unit with a new one. However, if you’re starting from scratch, here are the steps associated with this method:
a) Choose and purchase a compatible ice maker kit for your refrigerator model.
b) Turn off and unplug the refrigerator.
c) Locate and remove the access panel typically found on the back of the fridge.
d) Attach and secure the hardware provided as per the manufacturer’s instructions.
e) Connect water supply line and route it through guiding holes in your fridge’s rear panel.
f) Attach the relevant power cord connections.
g) Reattach and secure access panel
h) Wait at least 24 hours before testing (this allows proper freezing temperature and operating conditions).
i) Test by checking for robust ice production.
2. Installing a Standalone Ice Maker
If you don’t want or have space for a conventional refrigerator with a built-in ice maker, consider opting for a standalone unit – also known as freestanding or portable units. They can be placed anywhere near a power outlet and water source. Here’s how you can install a standalone unit:
a) Purchase your preferred standalone ice maker model.
b) Position the unit near both a water source and a power outlet.
c) Connect the water supply line to the inlet valve located on the unit’s rear panel.
d) Attach the provided drainage hose to the ice maker’s outlet and connect it to a designated drain area.
e) Plug in the machine and follow initial care instructions given in user manual.
f) Turn on the ice maker, and soon you’ll have crystal-clear ice at your disposal.
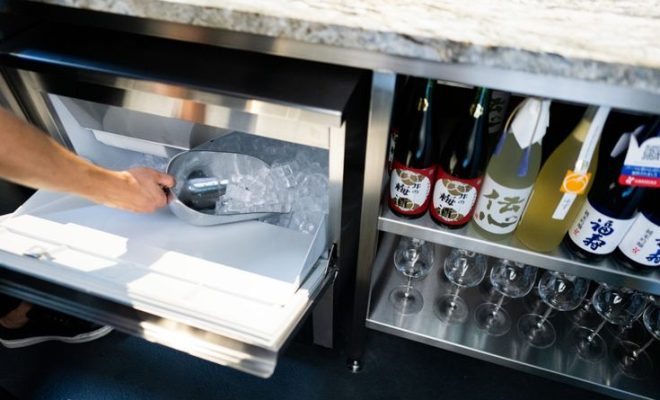
3. Installing an Undercounter Ice Maker
Undercounter ice makers are an excellent option for those who want to conserve space in their kitchen and maintain an integrated aesthetic. These units typically require a professional installation, as complicated cabinetwork may need to be altered. However, some general steps of this process are as follows:
a) Consult with an expert or licensed technician to assess your preferred undercounter location for feasibility and compatibility.
b) Purchase appropriate undercounter ice maker model based on recommendations.
c) Get necessary permits if required.
d) Professionally cut and modify cabinets or countertops to fit the new appliance.
e) Verify water source availability (and include plumbing modifications if needed).
f) Install damping material to reduce vibrations and noise if possible.
g) Follow a similar process mentioned in section 2 to connect water supply, drain line, power and test performance.
Conclusion
Installing an ice maker is a valuable and often essential addition to any kitchen. By considering these three distinct methods, you can successfully choose an installation style that seamlessly integrates with your kitchen layout and meets your daily demands for refreshing drinks. Always refer to the user manual provided by your appliance manufacturer, as they may have specific instructions or recommendations unique to their products.


