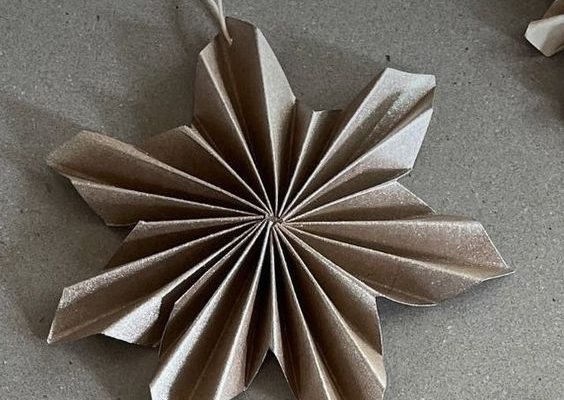
3 Ways to Fold a Paper Star

A paper star can be a delightful addition to your holiday decorations, or simply a creative project to brighten up any space. With just a few simple steps, you can create beautiful and intricate stars that are perfect for hanging on the tree or placing around your home. In this article, we will explore three different ways to fold a paper star. Each method is relatively straightforward, so why not try them all and see which one you like best?
1. The Classic 5-Pointed Star
Materials: Square paper, scissors, and glue (optional)
Step 1: Start by folding the square paper in half diagonally so that the top corner meets the bottom corner. Crease well.
Step 2: Fold the triangle in half again so that it forms an even smaller triangle.
Step 3: With the long side of the triangle at the bottom, fold the right-angle side toward yourself about halfway down.
Step 4: Take the long diagonal edge and fold it down onto itself, creating a pentagon shape with little flaps sticking out on either side.
Step 5: Cut off those extra flappy bits to create a clean edge.
Step 6: Carefully unfold the pentagon back into a square. You’ll see a small star shape created by your folds.
Step 7: Cut out the star shape by following the creases with your scissors.
2. The Simple Paper Strip Star
Materials: Long strip of paper, scissors, glue
Step 1: Form a loop at one end of your paper strip and pull it until you have made a pentagon shape.
Step 2: Fold the rest of your strip up and behind the pentagon.
Step 3: Continue weaving and folding your strip around your pentagon until there is no more to fold — make sure each side stays somewhat equal in length.
Step 4: Tuck the remaining bit of paper strip into the woven folds.
Step 5: Press on the edge points outward (like puffing them out) gradually, and you’ll see the 3D star forming.
Step 6: Use a dab of glue in areas where the edges seem looser to make your star sturdier.
3. The Intricate Double-Sided Star
Materials: Square paper, scissors, glue
Step 1: First, fold the paper in half diagonally, then repeat for the other diagonal.
Step 2: Fold each corner in until they meet at the center point. It should look like a smaller square now.
Step 3: Fold each corner in once more, but this time only toward (not touching) the centerpoint. It should form an elongated octagon shape.
Step 4: Cut triangles off where you just made those last four folds, cutting towards the center without crossing it.
Step 5: Unfold the entire piece of paper and lay it flat again with all eight points cut into it.
Step 6: Fold selected corners from the cut section toward the center, creating a pattern that will echo on both sides of your star when held up to light or hung on a window.
Step 7: To make it two-sided and symmetrical, repeat steps 1-6 with another piece of square paper.
Step 8: Place one side of each finished piece together using glue or double-sided tape to make a complete double-sided star.
Now that you’ve learned three different ways to fold a paper star, let your creativity fly high as you mix and match methods or create new designs of your own.


