3 Ways to Create a Halloween Face Mask
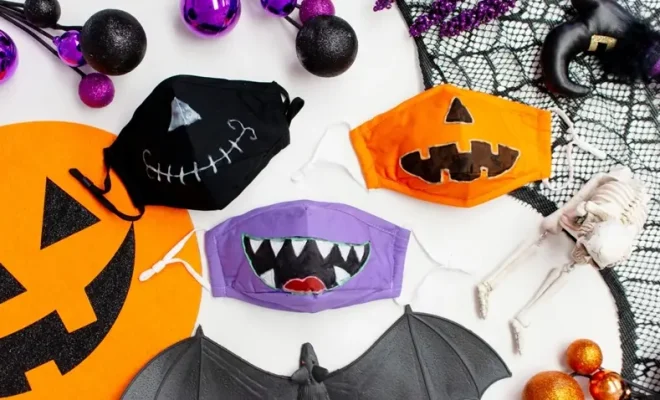
Halloween is just around the corner, and whether you’re attending a spooky party or going trick-or-treating with friends, a good Halloween face mask can make your costume look incredibly realistic. While store-bought masks can be expensive or generic, creating your own face mask is a cost-effective and creative way to stand out this Halloween. Here are three different methods for creating a unique and memorable Halloween face mask.
1. Paper Mache Face Mask:
A paper mache mask allows you to create a lightweight, custom-fit face mask using inexpensive materials.
Materials:
– Newspaper or computer paper
– White glue or flour and water mixture
– A balloon or mannequin head
– Acrylic paint
– Paintbrushes
– Scissors
Instructions:
1. Blow up a balloon or use a mannequin head as your base.
2. Cut newspaper or computer paper into small strips.
3. Mix white glue with water or create a paste of flour and water.
4. Dip each strip of paper into the glue mixture and apply it to the base, overlapping them slightly.
5. Once you have covered the entire surface, let it dry completely (this may take up to 24 hours).
6. Once dry, carefully remove the paper mache structure from the base.
7. Cut out eye holes, nose holes, and any other openings required for your specific design.
8. Use acrylic paint to add details and bring your mask to life.
2. Foam Mask:
Using foam is an excellent way to make a comfortable, light-weight face mask.
Materials:
– Craft foam sheets
– Hot glue gun
– Scissors
– Elastic bands
– Acrylic paint
– Paintbrushes
Instructions:
1. Sketch out your desired mask design on a piece of foam sheet.
2. Carefully cut out each piece of the design using scissors.
3. Attach the mask pieces together using a hot glue gun.
4. Paint the mask with acrylic paint to add details and colors.
5. Attach an elastic band to either side of the mask so it can be worn securely.
3. Clay Mask:
Sculpting a clay mask gives you complete control over the features and depth of your Halloween face mask.
Materials:
– Air-dry clay
– Clay sculpting tools (or makeshift items like toothpicks or butter knives)
– Rolling pin or another cylindrical object
– Acrylic paint
– Paintbrushes
– Elastic bands or ribbon
Instructions:
1. Roll out the air-dry clay to your desired thickness for the mask.
2. Carve out your desired mask design using clay sculpting tools or makeshift items.
3. Allow the clay to dry completely (this may take up to 48 hours).
4. Once dry, use acrylic paint to add details and colors to your mask.
5. Attach an elastic band or ribbon to either side of the mask so it can be worn securely.
In conclusion, making your own Halloween face mask can be a fun and creative way to celebrate this spooky season. With paper mache, foam, or clay, you can design a custom face covering that captures the spirit of Halloween while ensuring you stand out from the crowd. Happy haunting!