How to Check RAM Speed on Windows 10
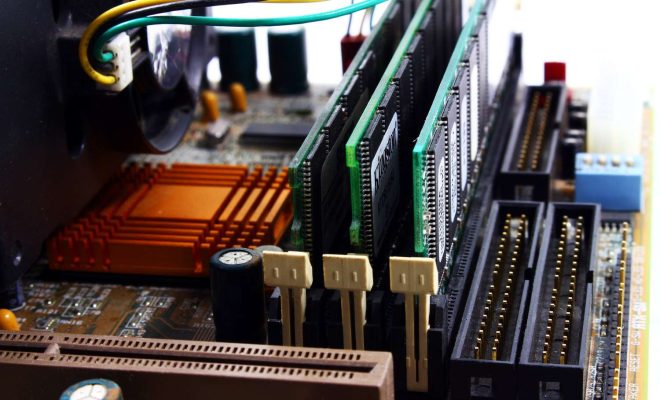
Random-access memory, popularly known as RAM, is arguably one of the essential components of your computer. RAM plays a crucial role in your computer’s performance, allowing it to multitask, run demanding applications, and quickly access frequently used files and programs. However, not all RAM sticks are created equal, and their speeds can significantly affect your computer’s performance.
In Windows 10, checking your RAM speed is a straightforward process, and there is more than one way to do it. Here are some methods you can use to check your RAM speed in Windows 10.
Method 1: Use Task Manager
Task Manager is a built-in feature in Windows 10 that allows you to monitor and control the processes running on your computer. It also contains valuable information about your computer’s performance, including your RAM speed.
To check your RAM speed using Task Manager, follow these simple steps:
Step 1: Right-click on the taskbar and select “Task Manager” or press Ctrl+Shift+Esc to launch Task Manager.
Step 2: Click on the “Performance” tab.
Step 3: At the bottom of the window, click on “Memory.”
Step 4: Look for “Speed” under the section labeled “Memory.” Here, you will find your RAM speed listed in MHz.
Method 2: Use Command Prompt
Another way to check your RAM speed in Windows 10 is by using the Command Prompt. Here’s how you can do it:
Step 1: Press the Windows key + R to open the Run dialog box.
Step 2: Type “cmd” in the box and press Enter to open the Command Prompt.
Step 3: Type “wmic MEMORYCHIP get BankLabel, Capacity, Speed” and press Enter.
Step 4: Look for the “Speed” entry to see your RAM speed listed in MHz.
Method 3: Use Third-Party Software
Besides Task Manager and Command Prompt, you can also use third-party software to check your RAM speed. There are many free utilities available online that can display detailed information about your computer’s hardware, including your RAM speed.
One popular utility is CPU-Z, which provides real-time monitoring of your computer’s processor, motherboard, and RAM. Here’s how you can use CPU-Z to check your RAM speed:
Step 1: Download and install CPU-Z from the official website.
Step 2: Launch the software and select the “Memory” tab.
Step 3: Look for the “DRAM Frequency” entry, which displays your RAM speed in MHz.
In conclusion, checking your RAM speed in Windows 10 is a simple process that can greatly improve your computer’s performance. Using any of the methods discussed above, you can easily determine your RAM speed and make informed decisions when upgrading your computer’s hardware.